Texture adds grip, feel, and visual intrigue. It also adds challenges for getting labels to stick (and stay stuck) to textured products. Since we live in a world of texture, we must face these challenges head-on. Here are some of the issues for labeling textured surfaces and how textured labels can solve them.
Challenges of Textured Labels
Contact Area
If you look closely at textured surfaces, you’ll notice they are often made up of peaks and valleys. If you lay a label with a firm adhesive on a surface like that, the adhesive will make contact with the peaks, but may leave the valley’s completely untouched. In fact, you may only come in contact with 50-75% of the surface instead of 100%. The less surface area the label sticks to, the less adhesion there is overall–affecting your label’s performance.
Porous Fibers
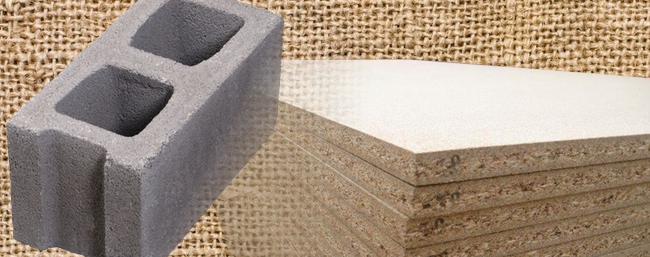
Some textured surfaces are actually made up of smaller woven fibers. For example, look at a burlap bag or the grid pattern of carpet backing. The result of these woven fiber strands is that they can be very porous in nature. Some of the adhesive can be absorbed into this structure.
Environmental
Application environment can also affect adhesion. Take a look at CMU’s (concrete masonry units) or bricks. Labels for these products are often applied in cool, dirty environments. Not only will the dirty add additional texture, but the cool environment can make adhesives harder and less effective. Also concrete, after being cast, can have higher than normal moisture content which could reduce adhesive effectiveness.
Solutions for Textured Labels
Flow
While aggressive adhesives can help with adhesion on a textured surface, even more important is flow. With all the nooks and crannies, you need an adhesive that is designed to move into and fill in those low spots. This helps with a stronger adhesion. Depending on the product requirements, the higher flow adhesives can be configured to work in applications temperatures as low 20 F and service temperatures lower than that.
Coat Weight
Coat weight is the amount of adhesive that’s laid down on the back of the label. The correct adhesive, combined with a higher than average coat weight can often be the correct solution. Especially with porous materials, having a thicker layer of adhesive can help. But just as bigger isn’t always better, moderation is important here. Too much adhesive and you can have oozing issue. You are really looking for the Goldilocks amount–just right.
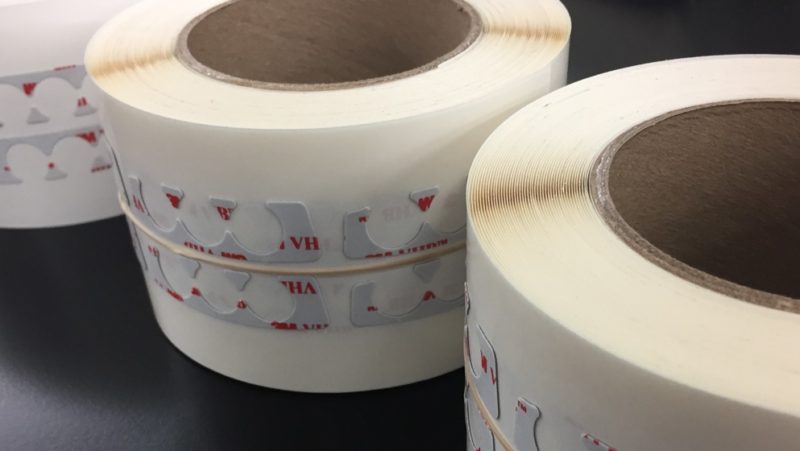
Simple Converting Shape
With a heavier coat weight and more “flowy” adhesive, there is potential for adhesive ooze. One way to minimize your exposure to this is by sticking with simple shapes. Rectangular labels, instead of complex shapes, such as stars, help prevent ooze on the sharp edges. Round corners instead of square corners can also help.
Testing
Since textures can vary significantly in a single lot of bricks, let alone different materials, testing is especially important. Feel free to contact one of our label application specialists to help you determine the correct adhesive for your specific application. From there we can provide samples for testing and verification.